An old man suddenly collapses near a hospital sidewalk. What would you do? Most people freeze. Some call for help. But one nurse didn’t hesitate.
It was a Sunday morning in Sacramento, California, when Josephine Falvey, still in her bike helmet, saw a man drop near the hospital entrance. His coffee mug skidded across the sidewalk. No pulse. Falvey, a trained ICU nurse, acted fast. Alone and without any medical gear, she began chest compressions right there on the pavement. For seven long minutes, she kept going until help arrived.
This isn’t rare. In fact, it could happen anywhere. According to Keith Churchwell (American Heart Association’s volunteer president), every 34 seconds, someone in the U.S. dies from cardiovascular disease. That’s over 2,500 people every single day. Many of them die before help arrives. Basic Life Support (BLS) training is designed for those crucial first moments. And the good news? These skills can be learned in just a few hours. Keep reading to uncover what to expect in a standard BLS certification course.
What Does a Standard BLS Certification Course Cover?
As per News-Medical.Net, a study by the American Heart Association (AHA) highlights the concerning trends of rising obesity, high blood pressure, and diabetes. If it continues, the U.S. may see a 300% increase in cardiovascular-related healthcare costs. That rise makes one thing clear: more people need to know how to act in emergencies. A BLS certification course equips you with the skills to respond when every second counts. These include:
1. Introduction to BLS and Basic Anatomy & Physiology
Basic Life Support covers more than just CPR. You’ll learn how to use an AED, assist someone who’s choking, and keep a person alive until advanced help arrives. The course also introduces basic anatomy and physiology, how the heart pumps, how the lungs oxygenate blood, and why the brain can suffer permanent damage just four to six minutes after the heart stops. This knowledge helps you understand why time is everything.
2. CPR Basics and When to Perform It
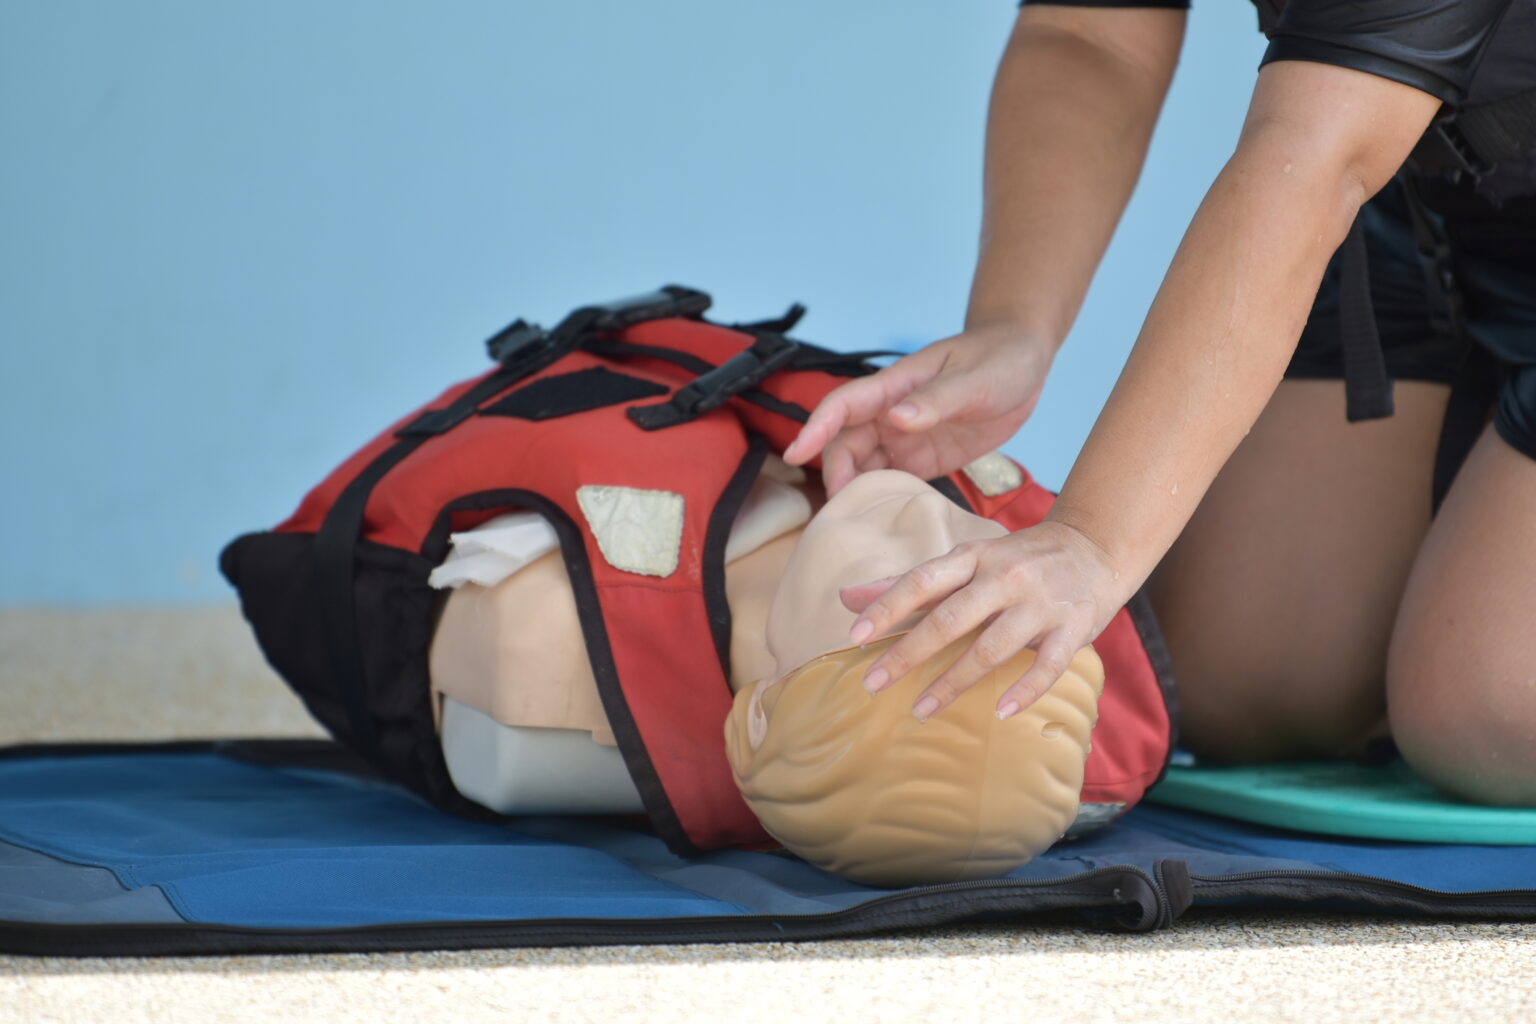
CPR must begin quickly. After just four minutes of cardiac arrest, brain damage can set in. You’ll learn how to deliver chest compressions at the correct rate, 100 to 120 per minute, and how to give rescue breaths, typically one every five to six seconds for adults. CPR continues until the person regains consciousness, emergency responders arrive, or you become too exhausted to continue.
3. Chain of Survival: Adult and Pediatric
You’ll get familiar with the five key steps to saving a life: recognise cardiac arrest, call 911, start compressions, use an AED, and support recovery afterwards. For children and infants, the chain includes a greater focus on early CPR and prevention strategies.
4. Hands-Only CPR for Adults
When an adult suddenly collapses, your first action should be to call 911. Then start chest compressions immediately, no breaths, just compressions. Push hard and fast in the centre of the chest at a rate of 100 to 120 times per minute and about two inches deep. Continue until help or an AED arrives.
5. One-Rescuer Adult CPR
If you’re alone with an unresponsive adult, check if they’re breathing. If not, call 911 and get an AED if one is available. Begin CPR with 30 chest compressions followed by 2 rescue breaths. Continue this cycle and use the AED as soon as possible, following the device’s prompts closely.
6. Two-Rescuer CPR for Adults
In two-rescuer scenarios, one person begins CPR while the other calls for help and retrieves the AED. You’ll alternate 30 compressions and 2 breaths, switching roles every two minutes to avoid fatigue and maintain effective, high-quality compressions.
7. One-Rescuer Child CPR
When a child collapses and you’re alone, check if the collapse was witnessed. If yes, call 911 immediately and get an AED. If no, perform 2 minutes of CPR first, then call 911.
Use one or two hands, depending on the child’s size, and maintain a 30:2 compression-to-breath ratio. Compressions should be about 2 inches deep, and breaths should cause a visible chest rise.
8. Two-Rescuer Child CPR
With two rescuers, the ratio changes to 15 compressions and 2 breaths. Switch roles every 2 minutes to maintain quality. Continue CPR and use the AED as soon as it becomes available, following all voice prompts carefully.
9. One-Rescuer Infant CPR
For infants, check responsiveness by tapping the soles of their feet and calling out—never shake them. If the collapse wasn’t witnessed, perform 2 minutes of CPR before calling 911.
Use two fingers to give compressions about 1.5 inches deep at a rate of 100–120 per minute. Follow with 2 gentle breaths, watching for chest rise. Never overinflate the lungs.
10. Using an Automated External Defibrillator (AED)
An AED analyses the heart’s rhythm and can deliver a shock if needed. You’ll learn how to turn it on, place the pads, and follow each prompt carefully. Stay clear during analysis and shock delivery. For children under 8, use pediatric pads if available. Resume CPR immediately when prompted, even after a shock.
11. Conscious and Unconscious Choking (All Ages)
If someone is choking and still conscious, ask if they can talk. If they can’t speak or breathe, start helping immediately. For adults and children, this typically means performing abdominal thrusts. For infants, deliver five back blows followed by five chest thrusts.
If the person becomes unresponsive, begin CPR right away. After each round of compressions, check the mouth for the object and remove it only if you can clearly see it.
12. Recovery Position
If someone is breathing but unresponsive, the recovery position helps keep their airway open and prevents choking on vomit or fluids. You’ll learn how to gently turn them onto their side, support the head, bend one leg to stabilise the position, and slightly tilt the head to maintain airflow.
13. Airway Management
Maintaining a clear airway is critical. You’ll learn techniques and tools to assist, from using a bag valve mask (BVM) to inserting oropharyngeal or nasopharyngeal airways. In more advanced cases, tools like a laryngeal tube or Combitube may be used. In extreme emergencies, a cricothyrotomy, a surgical airway, might be necessary.
14. Management of Opioid-Associated Emergencies
Opioid overdoses can slow or stop breathing entirely. You’ll learn how to recognise signs such as pinpoint pupils, unresponsiveness, and nearby drug paraphernalia. If the person isn’t breathing normally, start CPR and use naloxone (Narcan) if available. Quick action can mean the difference between life and death in these situations.
Be BLS Ready and Save Lives
BLS certification bridges the gap between a crisis and survival. It’s the critical first step in saving a life when medical help is still minutes away.
But BLS is more than just CPR. It teaches you how to respond to cardiac arrest, choking, opioid overdose, and breathing emergencies in adults, children, and infants. You’ll learn how to use an AED, manage airways, and stay calm when every second counts.
You don’t need to wear scrubs to save a life; you just need the training. Start your BLS certification today and be the person who steps in when others freeze.
Disclaimer
The information provided in this article is for general educational purposes only and is not a substitute for formal medical training, certification, or professional advice. Basic Life Support (BLS) procedures should only be performed by individuals who have received appropriate, accredited training and hold valid certification from recognised organisations such as the American Heart Association (AHA) or equivalent bodies.
While every effort has been made to ensure the accuracy of the information, Open Medscience makes no guarantees as to its completeness or applicability in all circumstances. Emergency situations can vary greatly, and improper application of BLS techniques may result in serious injury or death. Always follow the most current official guidelines provided by certified training authorities, and in an emergency, immediately contact professional medical services (e.g., dial 911 in the United States or 999 in the United Kingdom).
By reading this article, you acknowledge and accept that Open Medscience, its authors, and affiliates are not responsible or liable for any actions taken, or not taken, based on the content herein.
home » blog » education »